Monday, May 21, 2012

Ice Cream Electronics

To keep the bobber clean and simple, I wanted to stuff all of the electronics (minus the battery) into some kind of a box or canister. While my wife and I were at Round Top looking for antiques and furniture for the house, I came across this.


It's an old White Mountain ice cream maker. Looked about the right size, and $20 later it was mine. I especially love the look of the cast lid that reads "Made in U.S.A." and "Pat. June 12, 1923".

This will need a lot of work to convert it to an electrical container, and the first thing was to make a mounting location for the Regulator/Rectifier...here's what one looks like.


This generates heat while in operation, hence the cooling fins on the body. To keep the fins efficient, they need wind passing across them, so I decided to mount this outside of the container. First step was to cut a hole.


Next I grabbed some scrap sheet metal and bent, filed, beat and ground it to fit perfectly. The ice cream maker's material was extremely thin, so the better I could get the sheet metal to fit, the easier it would be to weld.


Even with all the time getting the sheet metal to fit, the welding was still very tedious. But patience paid off and after cleaning up the welds, she was looking good.


Looks clean and hopefully the wind will keep it cool during operation.

Wednesday, May 2, 2012

Shop Picture

The garage is always changing, but I recently finished building the welding table and did a complete reorganization. Finally, everything has a place and there's plenty of room to work (for now).

I took this picture yesterday evening while making mounts for the gas tank. I love to see the shop in use  and love that my wife is understanding and parks her car in the driveway (her car can fit if we have to...I know because we tested it...but that's another story haha). Something about this picture calms and excites all at once.


Friday, April 27, 2012

Offset Sprocket

On the motorcycle I decided to put a larger than stock rear tire. As a result, the chain and sprockets had to be moved over as well. Here's how I made the offset sprocket to accomplish this.

After figuring out the amount of offset needed (0.30") I took to SolidWorks to model up a design. I planned on machining the splines out of a new sprocket and machining the teeth off the existing sprocket (see below).

                     
                                   New sprocket with splines machined out.

Existing sprocket with teeth machined off.
Once that was complete, I planned on welding the 2 pieces together; shown below with blue representing the weld bead.
Seemed fairly simple with only a few challenges: how to hold the sprockets in lathe, how to machine through the hardened sprockets, and how to retain the material properties of the hardened sprockets through the welding process.

To hold the spockets I planned on machining a concentric fixture that I could weld the sprocket to. Here's the piece of steel I started with, boring it out to accept the sprocket.


Here is the sprocket resting in the fixture. Later I would face the fixture and weld the sprocket to it.


To avoid machining through hardned splines or teeth, I planned on plunging into the face of the sprocket with a face grooving tool. So I grabbed a piece of tool steel and got to grinding. Here's the finished tool.


This is where my plans began to change. I attempted to plunge into the face of the sprocket and had no success. It turns out the entire sprocket was hardened...not just the splines and teeth like I had thought. I attempted a few other methods, but even my carbide inserts were no match for the hardened steel. I took it to a friend and he had to EDM the parts for me.

At this point I also changed the design a bit. The sprockets had 2 threaded holes for a cover (that I was getting rid off). I decided to use the bolt holes for clamping during welding, and the bolts would also add strength to the finished sprocket.

I got the pieces back and they were perfect. Out of curiosity, I had to hardness test the parts to see what I was trying to machine. The sprockets were case hardened to 57 Rockwell C! I don't use carbide for anything much over 50 Rc. And for comparison 4140 steel may get around mid 30s. It's no wonder I wasn't able to cut through this stuff...hard stuff! Lesson learned: know exactly what kind of material you're machining!

With something that hard, welding could cause some issues; the heating and cooling could crack the brittle case of the sprockets. To solve this, I planned to preheat the 2 pieces (hot enough to reduce thermal shock, but low enough to avoid degrading the case hardening), weld in short bursts, and slow cool the part. Here are the 2 pieces getting preheated to 400 degF. 


About an hour later, and after verifying the temperature with a temperature pen, it was time to weld. It had been about 3 years since I touched a TIG, but my buddy refreshed my memory and gave me some scrap pieces to practice on. Here are some action shots.
  
I stitch welded 4 beads around the sprocket in a crossing pattern (similar to tightening the bolts on a wheel). The stitch welding reduced the heat being added to the sprockets, but still added strength to the joint. In fact, I ran the calculations and technically the weld wasn't needed ...the bolts would have held just fine. However, to be on the safe side, I opted to add the welds given the critical nature of the part. Here's one of the welds.


Very happy with the end result. A precision part that I'm very comfortable putting on the bobber. Still need to grind down the bolts and loctite them, but you get the idea.


Thursday, April 26, 2012

Raised Garden

A green thumb runs in my wife's family and was definitely passed on to her. Since we bought out house (and even before that), she has always wanted a place to plant vegetables and herbs. Over the last few weeks we both worked very hard to build her a raised garden.

First thing we did was collect some fertilizer. There is a mushroom farm in Madisonville, TX that will fill up your pickup truck for $25. I've heard mushroom compost is like giving your plants steroids...we'll see. Here I am next to a mountain of poo, hand loading because the front end loader was done for the day. I should mention that this was on our way home from College Station, where the night before we spent reliving our college days at the Dixie Chicken...hungover and shoveling chicken crap is not a good combination.


I guess one of the workers felt sorry for us, because he came over with a skid steer to speed up the poo loading. Minutes later we had a whole bed full.


On the way back to Houston we stopped at a Lowe's to get the rest of the supplies.


That week we spent as much time as we could after work to get the garden built. We chose an area behind the garage that had good drainage and got plenty of sun. It wasn't being used for anything and had become overgrown, so the first step was to clean it out.


Next step was to layout the garden and start trenching. The garden ended up being 16' long, 4' on one end, and 3' at the other...had to make sure we could get our mower between it and the garage wall. We also wanted the garden to be about 18" above the ground and have at least 6" of the wall in the ground for strength.


After trenching and digging the post holes it was time to install the sides. Getting everything level and plumb took some time, but was worth it.


At the end of a long day we had the first level of 2"x12" installed.


Plans for the next day included finishing construction and unloading the fertilizer. This second level of 2"x12" went up quickly since we took the time to get the first part right.


We unloaded enough fertilizer for the garden and had enough left over to do all the beds and even sprinkled some in the yard.


On the way home from work the next day I picked up a load of top soil to mix in with the fertilizer. My wife figured we needed a 60/40 mix of topsoil to fertilizer for pH or something...I don't know.


After unloading the top soil we tilled it in with the fertilizer and she started planting. My only request was for her to plant us serrano peppers in addition to the squash, tomatoes, basil, strawberries, and I can't even remember.


Here's the end product, happy as ever. Loved building that for her and with her. Even had some leftover soil and herbs to plant in an old wheel barrel we had. Can't wait to get me some fresh serranos!


Thursday, April 5, 2012

Work In Progress

Not much happening on the bobber this week: I was able to finish up some design work for an offset sprocket I'll be making, but that's about it. Been busy building a raised garden for my wife...hope to have pictures of that up next week (can't wait to see/taste what she'll do with it).

I was able to clean up the garage a bit this week (still trying to get "moved in") and saw a photo op...love how the lines of the bike are coming together.

Monday, March 26, 2012

Wood Saddle

The carpenter side of me was dying to get some lovin' on the motorcycle build. With a recently Restored Bandsaw and me being in need of seat...thought I'd make and mount a wooden saddle.

The process of actually making the seat was a combination of some old techniques I learned as a carpenter and lots of patience. The end result was a beautiful wooden seat that was surprisingly comfortable. I'll eventually brand it with some design (to be determined), and stain it to bring out the grain and protect it.

The mounting process began with making these little bungs on the lathe. These would be welded to the frame and hold the springs in place with cotter pins.


The springs I chose are just 2" tall to keep the low lines of the bike intact. Sounds good for now, but a few rides on these bumpy Houston streets may have me switching to some larger springs...we'll see. A side note: installing these springs can't be done with a normal wrench or socket; luckily I had one of those cheap, flat wrenches that came with non-assembled furniture or something...the wrench fit between the spring coils and fit the nut just right! 


For the hinge mechanism I lucked out again and found some hard plastic bushings that came with some other furniture or mount or something (it's not hoarding if it's organized!). These will be perfect until I can get my hands on some brass or bronze.


So after a little more lathe work and making some brackets...here's the hinge assembly.


Here's a good "what not to do". I had thought I found a great place for the hinge assembly; hidden and out of the way. What I didn't think about was how to get the hinge bolt in and out...crap. That's why I tack...easily cut out and rewelded in the right spot.


No problems in the end, just a great looking seat. She's starting to look like a motorcycle finally and I'm dying to ride. 


Next I will be the branding and staining stages. Here are some finishes I'm considering...kind of hard to tell but you get the idea.


Friday, March 16, 2012

Handlebar Risers

Just finished up the Part 1 of some handlebar risers for the motorcycle I'm building. Took longer than I thought, made some paperweights in the process (i.e. I fudged a part or two); but the end result was well worth it.

I had planned on making these out of aluminum just because there would be a lot of machining...stainless would be doable, but it would be a bear. I modeled them up in SolidWorks, ran calculations on strength, and modified the design until I felt comfortable. After all, these will be holding the one thing I have to control the bike. Here's what I ended up with.


I wanted to be able to hide all the mounting hardware; the handlebar will cover the large mounting bolt and I'll make a cap (not shown) to hide the clamping bolts. Time to order material! $150 later I had a 12' stick of aluminum and more than enough hardware.

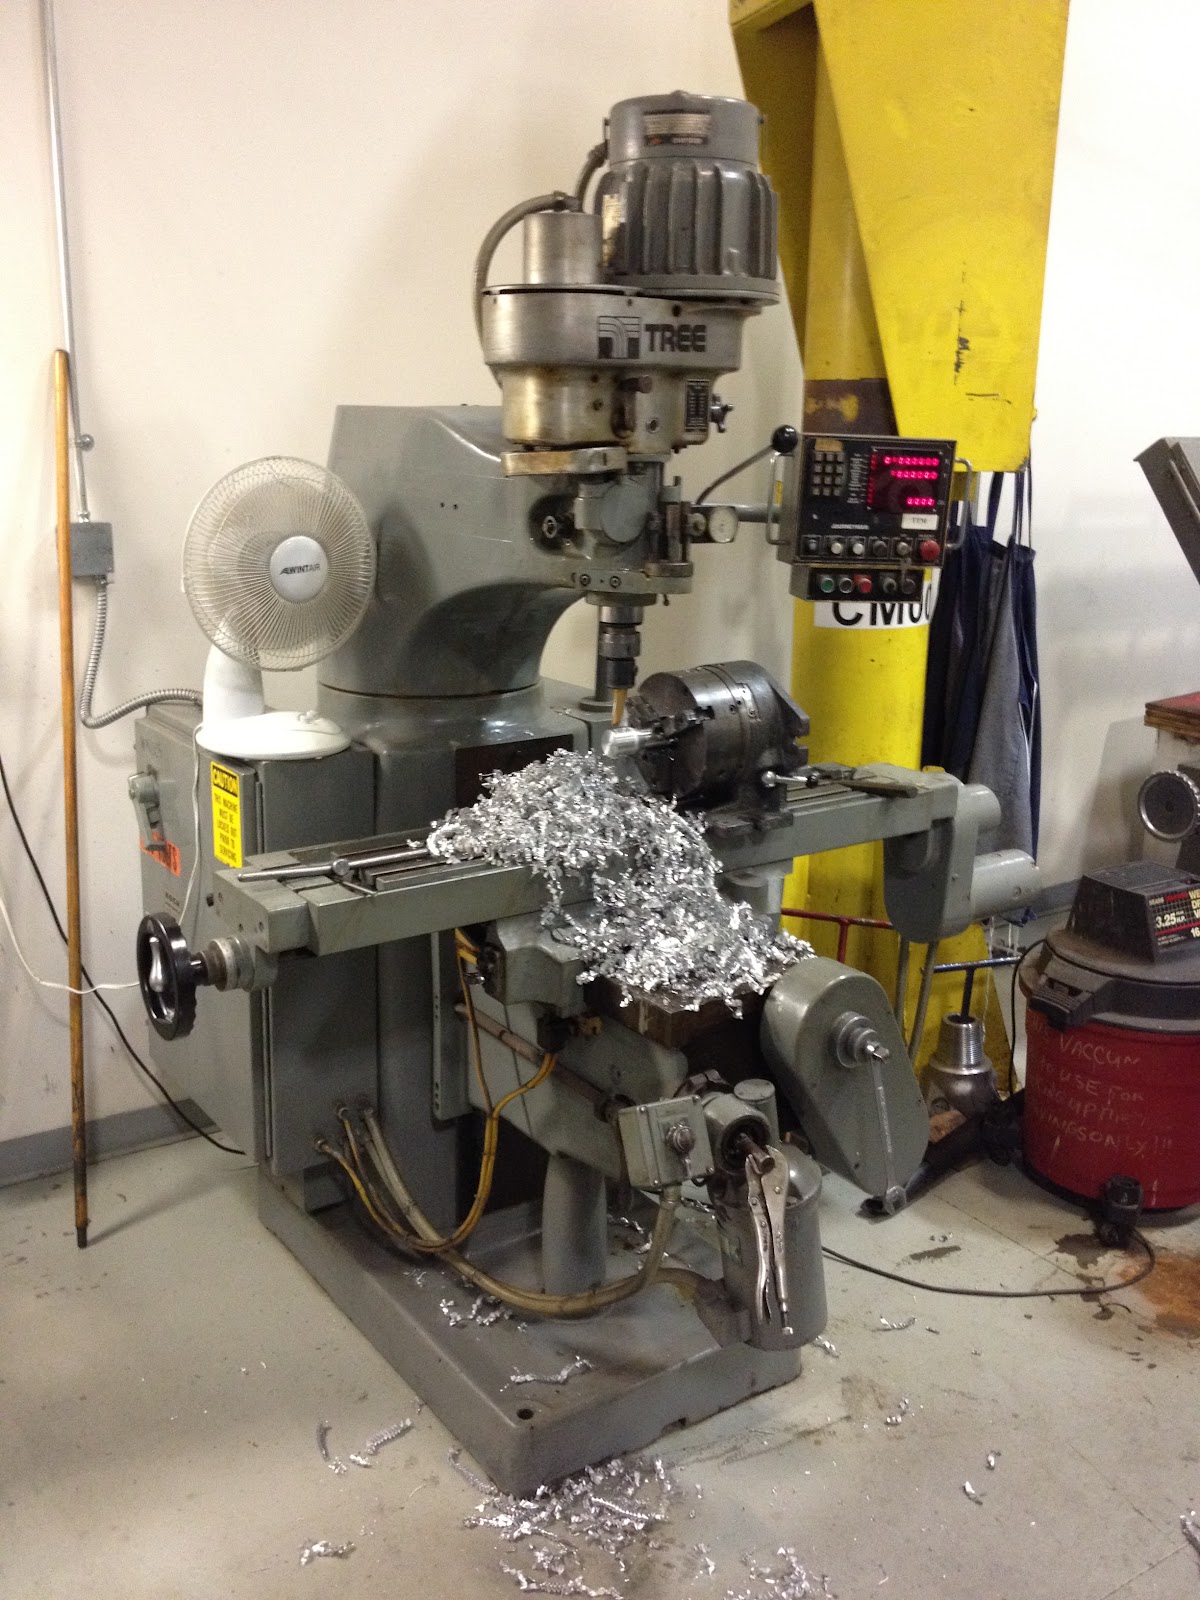
I was pretty bad about pictures starting off, but basically I turned the profile on my South Bend at home out of 1.75" aluminum. Then it was off to the mill to make room for the handlbars and the clamping bolts. So many chips!


About 5 hours on the mill and the risers were starting to take shape.


Then it was back to the lathe to finish up. Splitting the halves wasn't easy with the giant 1 inch hole through the center...part off tools don't like interrupted cuts. But after that was done I faced off the halves to the correct dimensions and tapped the clamping bolt holes.


I had a piece of 1" tubing that I'll use to make the bars, so I tested the clamping strength on that. They showed no signs of budging and were looking good.


For the large 1/2"-20 mounting bolt it required a 13/16" counterbore. The largest end mill I could fit in the tailstock was a 9/16". So I started there and bored out to the right size.


Only thing left to do was part off the extra stock and deburr everything. Love the way these look. Home made and one of a kind.


Next I will be making the decorative cap. Still unsure of the design...let me know if one jumps out at you.