Monday, March 26, 2012

Wood Saddle

The carpenter side of me was dying to get some lovin' on the motorcycle build. With a recently Restored Bandsaw and me being in need of seat...thought I'd make and mount a wooden saddle.

The process of actually making the seat was a combination of some old techniques I learned as a carpenter and lots of patience. The end result was a beautiful wooden seat that was surprisingly comfortable. I'll eventually brand it with some design (to be determined), and stain it to bring out the grain and protect it.

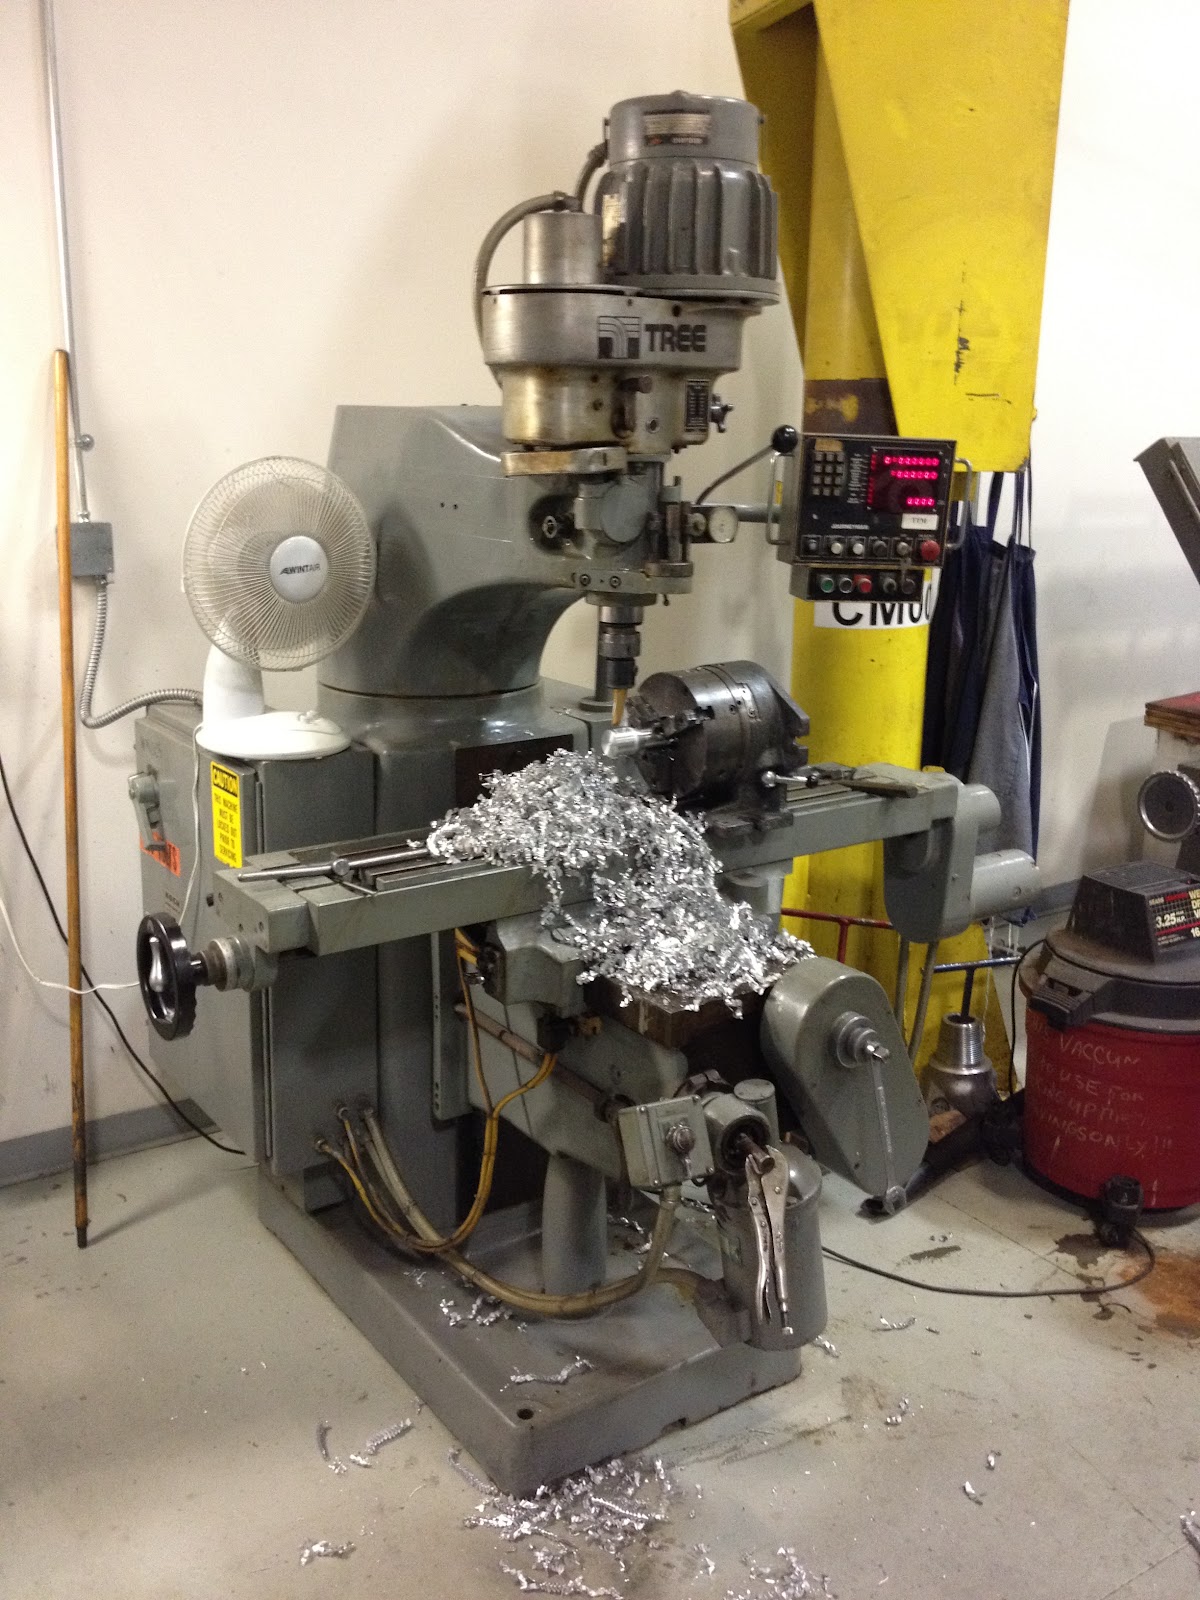
The mounting process began with making these little bungs on the lathe. These would be welded to the frame and hold the springs in place with cotter pins.


The springs I chose are just 2" tall to keep the low lines of the bike intact. Sounds good for now, but a few rides on these bumpy Houston streets may have me switching to some larger springs...we'll see. A side note: installing these springs can't be done with a normal wrench or socket; luckily I had one of those cheap, flat wrenches that came with non-assembled furniture or something...the wrench fit between the spring coils and fit the nut just right! 


For the hinge mechanism I lucked out again and found some hard plastic bushings that came with some other furniture or mount or something (it's not hoarding if it's organized!). These will be perfect until I can get my hands on some brass or bronze.


So after a little more lathe work and making some brackets...here's the hinge assembly.


Here's a good "what not to do". I had thought I found a great place for the hinge assembly; hidden and out of the way. What I didn't think about was how to get the hinge bolt in and out...crap. That's why I tack...easily cut out and rewelded in the right spot.


No problems in the end, just a great looking seat. She's starting to look like a motorcycle finally and I'm dying to ride. 


Next I will be the branding and staining stages. Here are some finishes I'm considering...kind of hard to tell but you get the idea.


Friday, March 16, 2012

Handlebar Risers

Just finished up the Part 1 of some handlebar risers for the motorcycle I'm building. Took longer than I thought, made some paperweights in the process (i.e. I fudged a part or two); but the end result was well worth it.

I had planned on making these out of aluminum just because there would be a lot of machining...stainless would be doable, but it would be a bear. I modeled them up in SolidWorks, ran calculations on strength, and modified the design until I felt comfortable. After all, these will be holding the one thing I have to control the bike. Here's what I ended up with.


I wanted to be able to hide all the mounting hardware; the handlebar will cover the large mounting bolt and I'll make a cap (not shown) to hide the clamping bolts. Time to order material! $150 later I had a 12' stick of aluminum and more than enough hardware.

I was pretty bad about pictures starting off, but basically I turned the profile on my South Bend at home out of 1.75" aluminum. Then it was off to the mill to make room for the handlbars and the clamping bolts. So many chips!


About 5 hours on the mill and the risers were starting to take shape.


Then it was back to the lathe to finish up. Splitting the halves wasn't easy with the giant 1 inch hole through the center...part off tools don't like interrupted cuts. But after that was done I faced off the halves to the correct dimensions and tapped the clamping bolt holes.


I had a piece of 1" tubing that I'll use to make the bars, so I tested the clamping strength on that. They showed no signs of budging and were looking good.


For the large 1/2"-20 mounting bolt it required a 13/16" counterbore. The largest end mill I could fit in the tailstock was a 9/16". So I started there and bored out to the right size.


Only thing left to do was part off the extra stock and deburr everything. Love the way these look. Home made and one of a kind.


Next I will be making the decorative cap. Still unsure of the design...let me know if one jumps out at you.