Monday, March 26, 2012

Wood Saddle

The carpenter side of me was dying to get some lovin' on the motorcycle build. With a recently Restored Bandsaw and me being in need of seat...thought I'd make and mount a wooden saddle.

The process of actually making the seat was a combination of some old techniques I learned as a carpenter and lots of patience. The end result was a beautiful wooden seat that was surprisingly comfortable. I'll eventually brand it with some design (to be determined), and stain it to bring out the grain and protect it.

The mounting process began with making these little bungs on the lathe. These would be welded to the frame and hold the springs in place with cotter pins.


The springs I chose are just 2" tall to keep the low lines of the bike intact. Sounds good for now, but a few rides on these bumpy Houston streets may have me switching to some larger springs...we'll see. A side note: installing these springs can't be done with a normal wrench or socket; luckily I had one of those cheap, flat wrenches that came with non-assembled furniture or something...the wrench fit between the spring coils and fit the nut just right! 


For the hinge mechanism I lucked out again and found some hard plastic bushings that came with some other furniture or mount or something (it's not hoarding if it's organized!). These will be perfect until I can get my hands on some brass or bronze.


So after a little more lathe work and making some brackets...here's the hinge assembly.


Here's a good "what not to do". I had thought I found a great place for the hinge assembly; hidden and out of the way. What I didn't think about was how to get the hinge bolt in and out...crap. That's why I tack...easily cut out and rewelded in the right spot.


No problems in the end, just a great looking seat. She's starting to look like a motorcycle finally and I'm dying to ride. 


Next I will be the branding and staining stages. Here are some finishes I'm considering...kind of hard to tell but you get the idea.


Friday, March 16, 2012

Handlebar Risers

Just finished up the Part 1 of some handlebar risers for the motorcycle I'm building. Took longer than I thought, made some paperweights in the process (i.e. I fudged a part or two); but the end result was well worth it.

I had planned on making these out of aluminum just because there would be a lot of machining...stainless would be doable, but it would be a bear. I modeled them up in SolidWorks, ran calculations on strength, and modified the design until I felt comfortable. After all, these will be holding the one thing I have to control the bike. Here's what I ended up with.


I wanted to be able to hide all the mounting hardware; the handlebar will cover the large mounting bolt and I'll make a cap (not shown) to hide the clamping bolts. Time to order material! $150 later I had a 12' stick of aluminum and more than enough hardware.

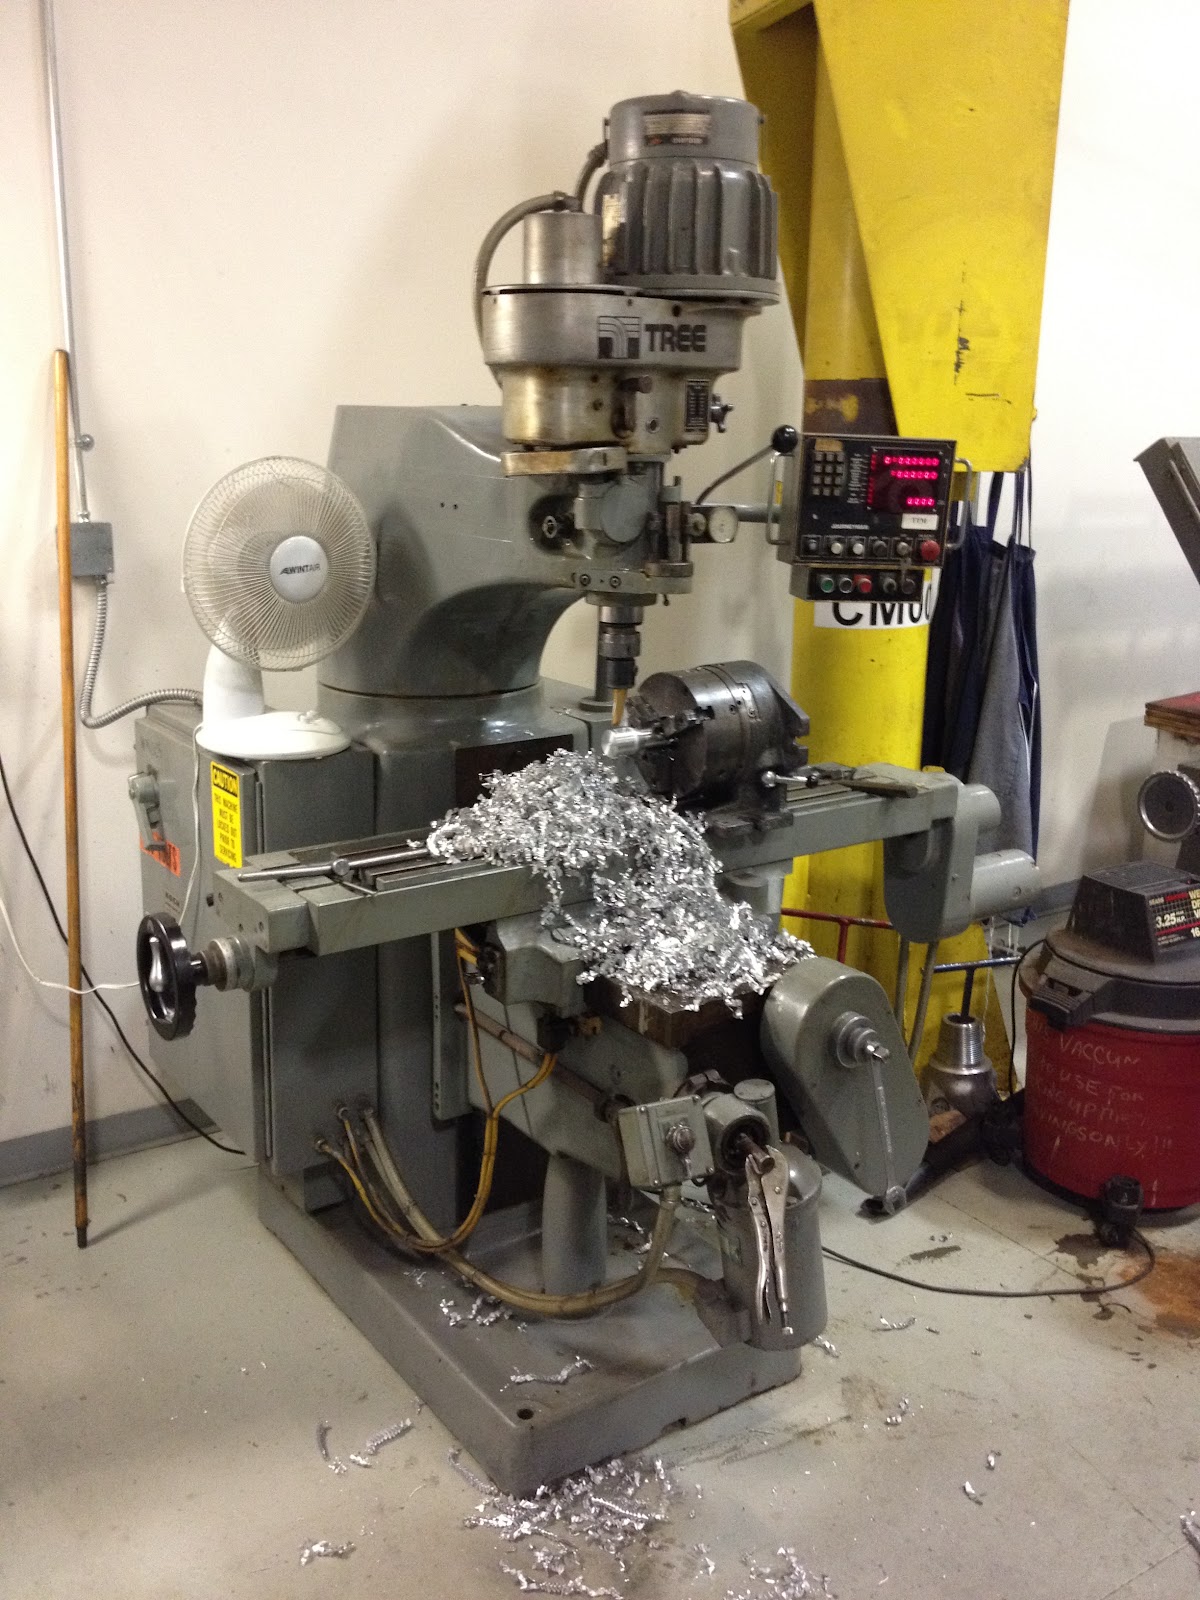
I was pretty bad about pictures starting off, but basically I turned the profile on my South Bend at home out of 1.75" aluminum. Then it was off to the mill to make room for the handlbars and the clamping bolts. So many chips!


About 5 hours on the mill and the risers were starting to take shape.


Then it was back to the lathe to finish up. Splitting the halves wasn't easy with the giant 1 inch hole through the center...part off tools don't like interrupted cuts. But after that was done I faced off the halves to the correct dimensions and tapped the clamping bolt holes.


I had a piece of 1" tubing that I'll use to make the bars, so I tested the clamping strength on that. They showed no signs of budging and were looking good.


For the large 1/2"-20 mounting bolt it required a 13/16" counterbore. The largest end mill I could fit in the tailstock was a 9/16". So I started there and bored out to the right size.


Only thing left to do was part off the extra stock and deburr everything. Love the way these look. Home made and one of a kind.


Next I will be making the decorative cap. Still unsure of the design...let me know if one jumps out at you.


Monday, February 27, 2012

Valentine's Day Picture Frame

For Valentine's Day my wife gave me a frame with all the the dates "that changed our lives forever". Very thoughtful and looked great, but she wanted the frame to have our own special touch to it. So after a quick design session, we had an idea how to make the frame even more unique.


Time to start bending some metal. I used the same bending jig that I made for the Rustic Chalk Board to keep both sides symmetrical.  Here I am getting one of the scrolls just right...and my wife was right there to help and take some pictures.
 

After making the 2 scrolls and the 2 pieces for the heart it was time to weld them together (action shot!).


I drilled holes in some flat bar and welded all the pieces to it to give me a way to attach everything to the wooden frame. 


The twists in the heart were my wife's idea. They didn't take much effort to form after heating the metal up, but they added a lot to the overall look. Next was a vinegar bath overnight to give it a fresh coat of rust.


And the final product! It all goes together very well and looks great on our wall. A perfect V-Day gift for both of us...personalized and meaningful.

Thursday, February 16, 2012

Old Bandsaw Restoration

One of my gifts for Christmas was an old bandsaw that belonged to wife's dad and, before that, his dad. So it was an honor to receive the dusty, cob web ridden saw that hadn't been used in years.


It wasn't antique-old, but it was before my time and most importantly had a history. I love tools with a history, I feel like they have a soul and the ones who used them before sort of guide and coach me when I use them.

Anyways, first was to get the thing apart and clean it up. A trip to the sand blaster and parts washer and all the dust, webs, and nests were gone. After a quick paint job and lube job it was ready for reassembly.


The only new parts I had to get (besides a few missing bolts), were new tires for the wheels and a sharp blade. This is going to be used strictly for wood projects so I opted for a smaller, more aggressive blade for cutting tight circles in wood.


The urethane tires (in orange) went on great after soaking in hot water. The saw was coming together and looking great! But the real test game with a test cut...


Like butta! Cut smooth and ran smooth. Can't wait to use this on a project; which I think will be a motorcycle seat for a bike I'm building...stay tuned!


Tuesday, February 7, 2012

Motorcycle Axle Spacer

So this weekend my wife and I took a trip to Dallas to visit a friend and pick up my new toy: 1963 South Bend 9" Lathe. It was a great trip and got an awesome machine with tons of tooling. Here it is after my entire family helped move it into position.


The first project I had planned was to make some axle spacers for a motorcycle I'm building. After a few measurements the design was complete. Time to start machining. Somewhere in this round stock there are a couple axle spacers...I was going to get them out.


Here are a couple of action shots getting the ID just right. The lathe runs so smooth and is very accurate. It's smaller than what I'm used to, but I'm learning quickly how to run this little workshop lathe. It's powered by a leather belt that did slip a few times under heavy load, but I've read there's an easy fix by replacing it with a automotive serpentine belt...sounds good to me.


A few hours later and the job was done. The parts were in tolerance and had a great finish. Here's the finished product. What a great addition to the garage!


Wednesday, February 1, 2012

Wedding Arbor

My wife and I got married October 7th, 2011. For her wedding gift I wanted to make our arbor with the help of my dad and brother.

The design of this one took some time. We reviewed several pictures of other arbors until we got the right style. Next, it was over to SolidWorks to model something up. Here's what I came up with.

The venue had a beautiful view overlooking the Guadalupe River. To make sure we didn't take away from that I had to get the dimensions just right. Using Photoshop and some pictures of the venue, I superimposed the arbor and scaled it up and down until it was just the right size.

 
To add to the design complexity, the arbor had to be assembled and disassembled in a few hours. My dad, the expert carpenter, helped with this part of the design.

Then it was onto the build. My dad, brother, and I took the day to fabricate and construct the arbor...and had some fun in between.


After a hard day's work the arbor was up and looked very impressive.


And of course the final final product shown here on the best day of my life. It was a beautiful day and was thrilled with how everything turned out....including the arbor.


Rustic Chalk Board

This was a project for my mom for Christmas. She wanted a rustic frame she could put by the door and write notes to my dad.

She gave me a barn frame to work around and she gave me the dimensions she wanted around the frame so it would fit on the wall. About an hour in SolidWorks and the design was complete.


I had most of the material in my storage area, so my wife made a run to Lowe's for me to get the rest. This was my first time doing this much decorative metal work and it had to be symmetrical so I decided to make a bending jig.


This thing worked great...keeping all the small, tight curves smooth and accurate. After welding all the pieces together I gave the piece a vinegar bath over night to rust the steel.
  

Here's the finished product. My mom loves it!